
 Series 01 · Oakley Prizm · Method
The Oakley Prizm Lens Test: how the pictures and numbers are made
Every figure and every through-lens photo in this study comes from three sessions with one rule: lock everything, then change only the lens. This page shows the actual setup, the actual places, and exactly what the numbers mean.

The bench
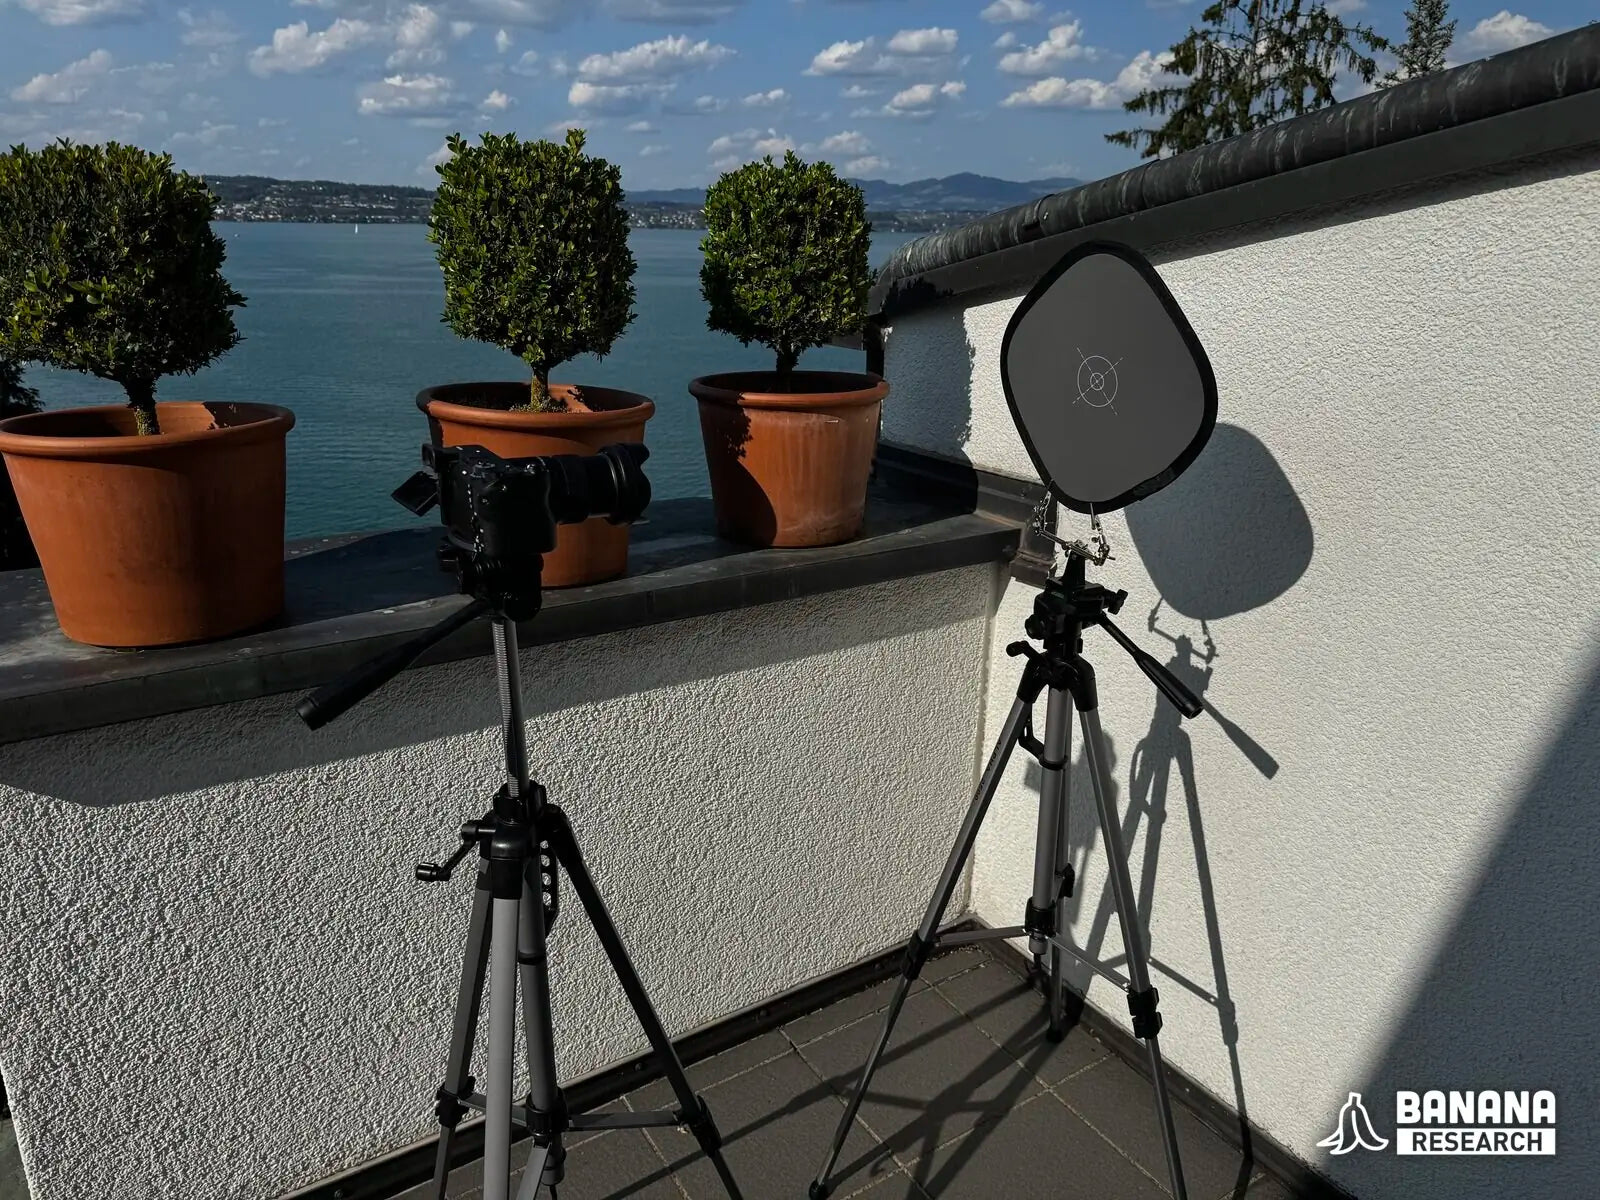
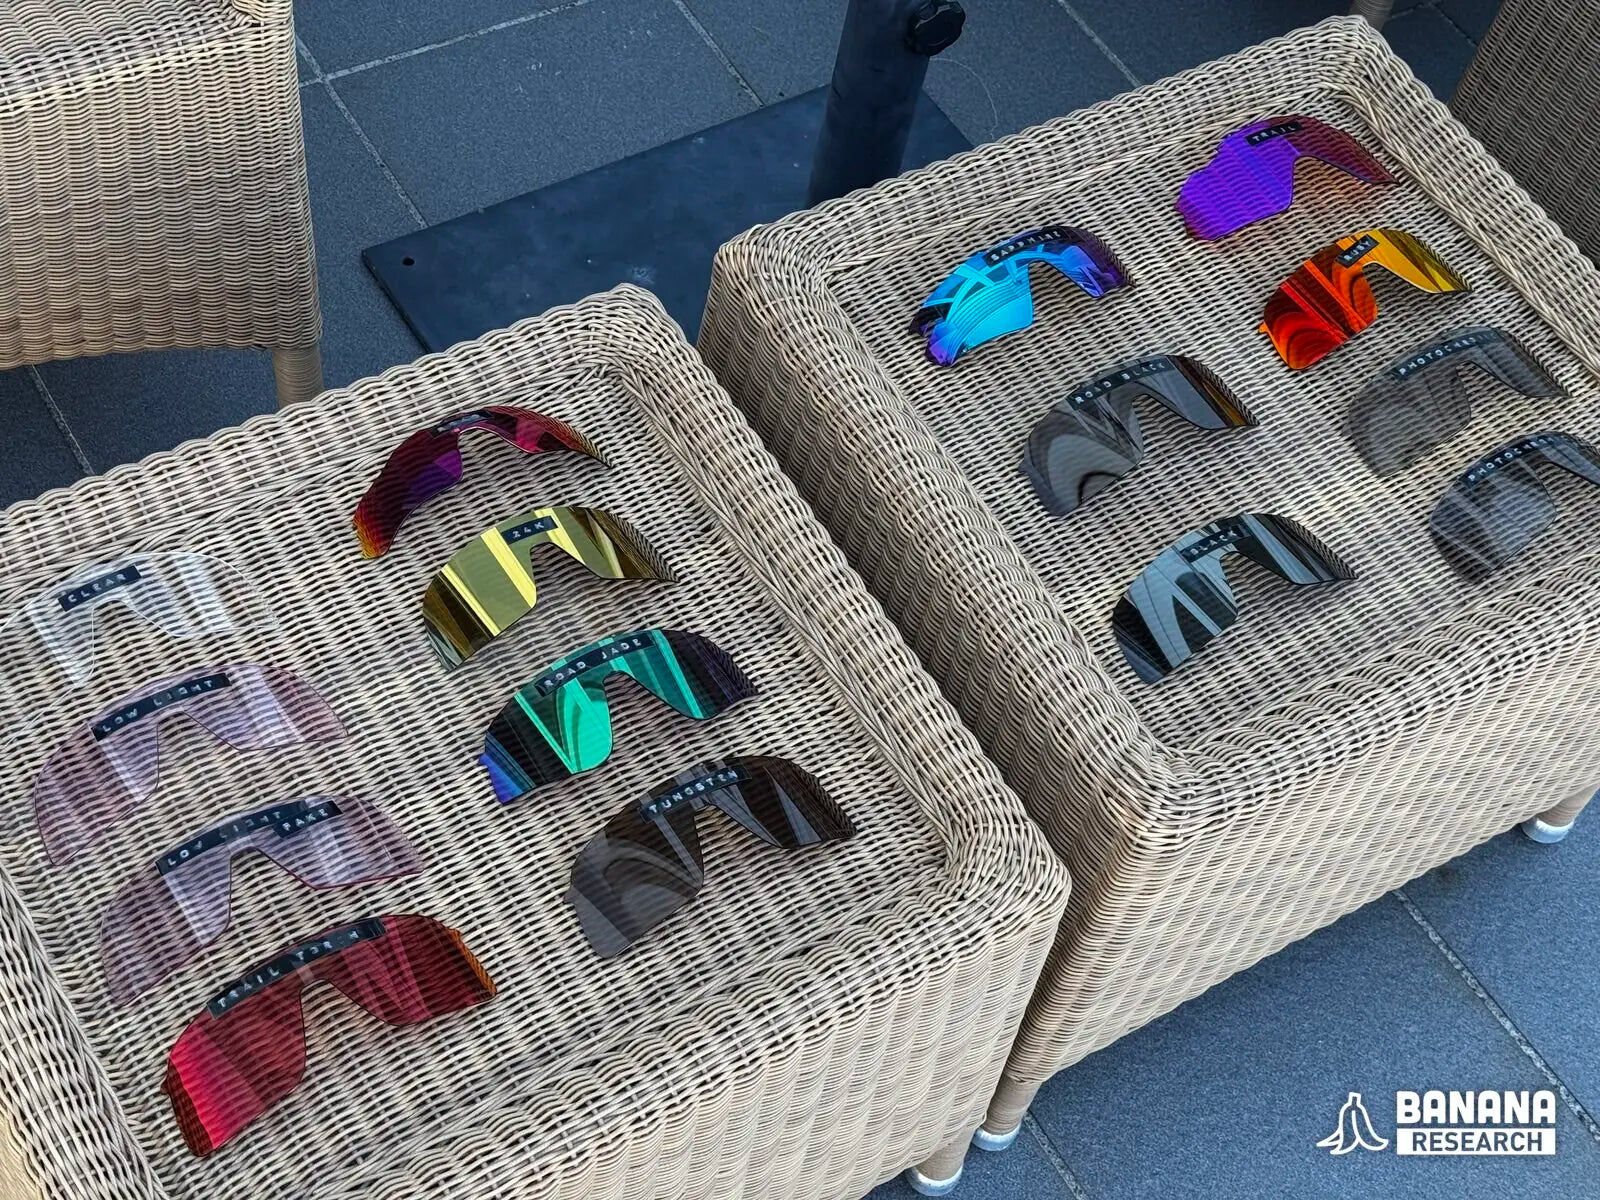
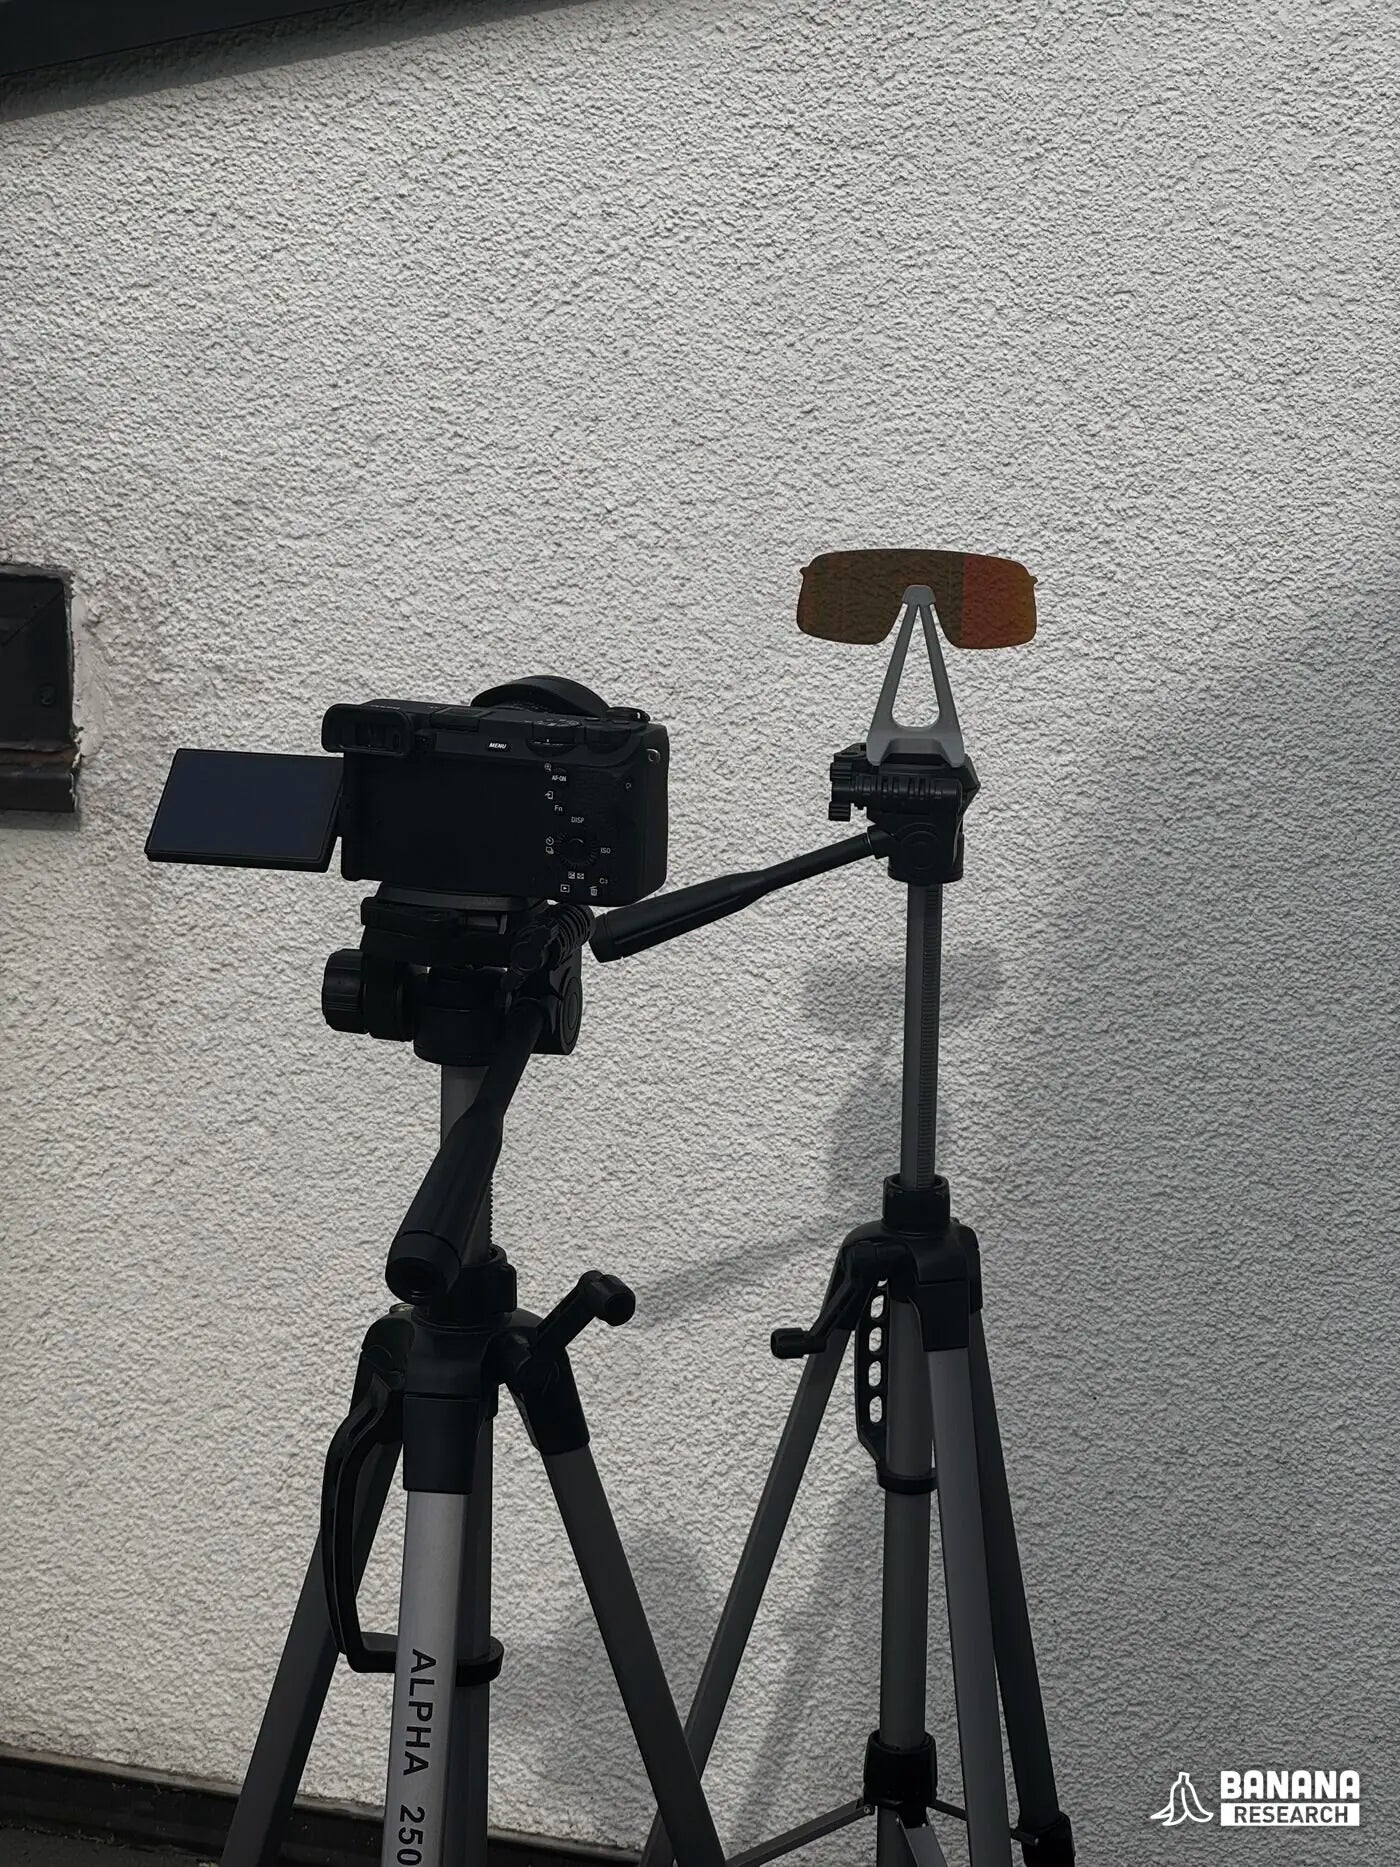
Fifteen specimens, thirteen genuine and two counterfeits bought alongside them, each shot twice from one fixed apparatus. One block in direct sun at 1/500, f/8, ISO 100 gives the through-lens sample. One block in shade at 1/40 gives the exterior face. Every specimen carries a taped handwritten label, legible in frame, so identity is read off the photograph rather than remembered.
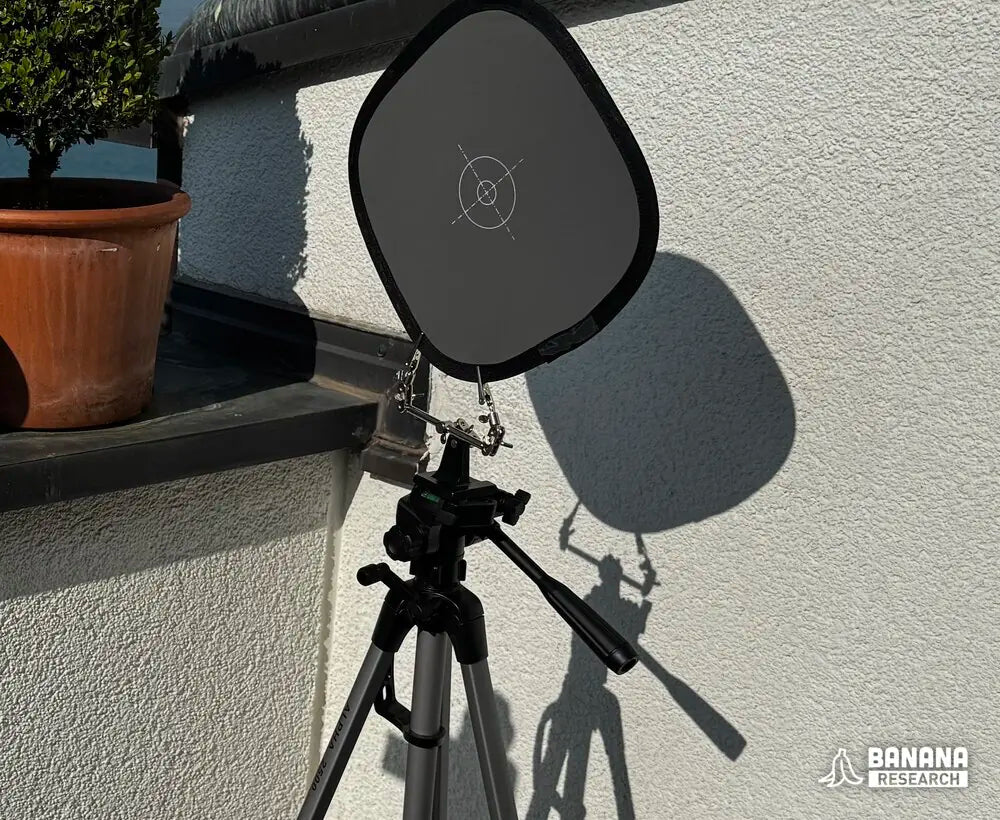
White balance was set once on a grey card and never touched again. If the camera had changed any setting between frames, the ratios below would be meaningless, so the processing refuses to emit numbers unless every frame in a block reports identical exposure.
The field
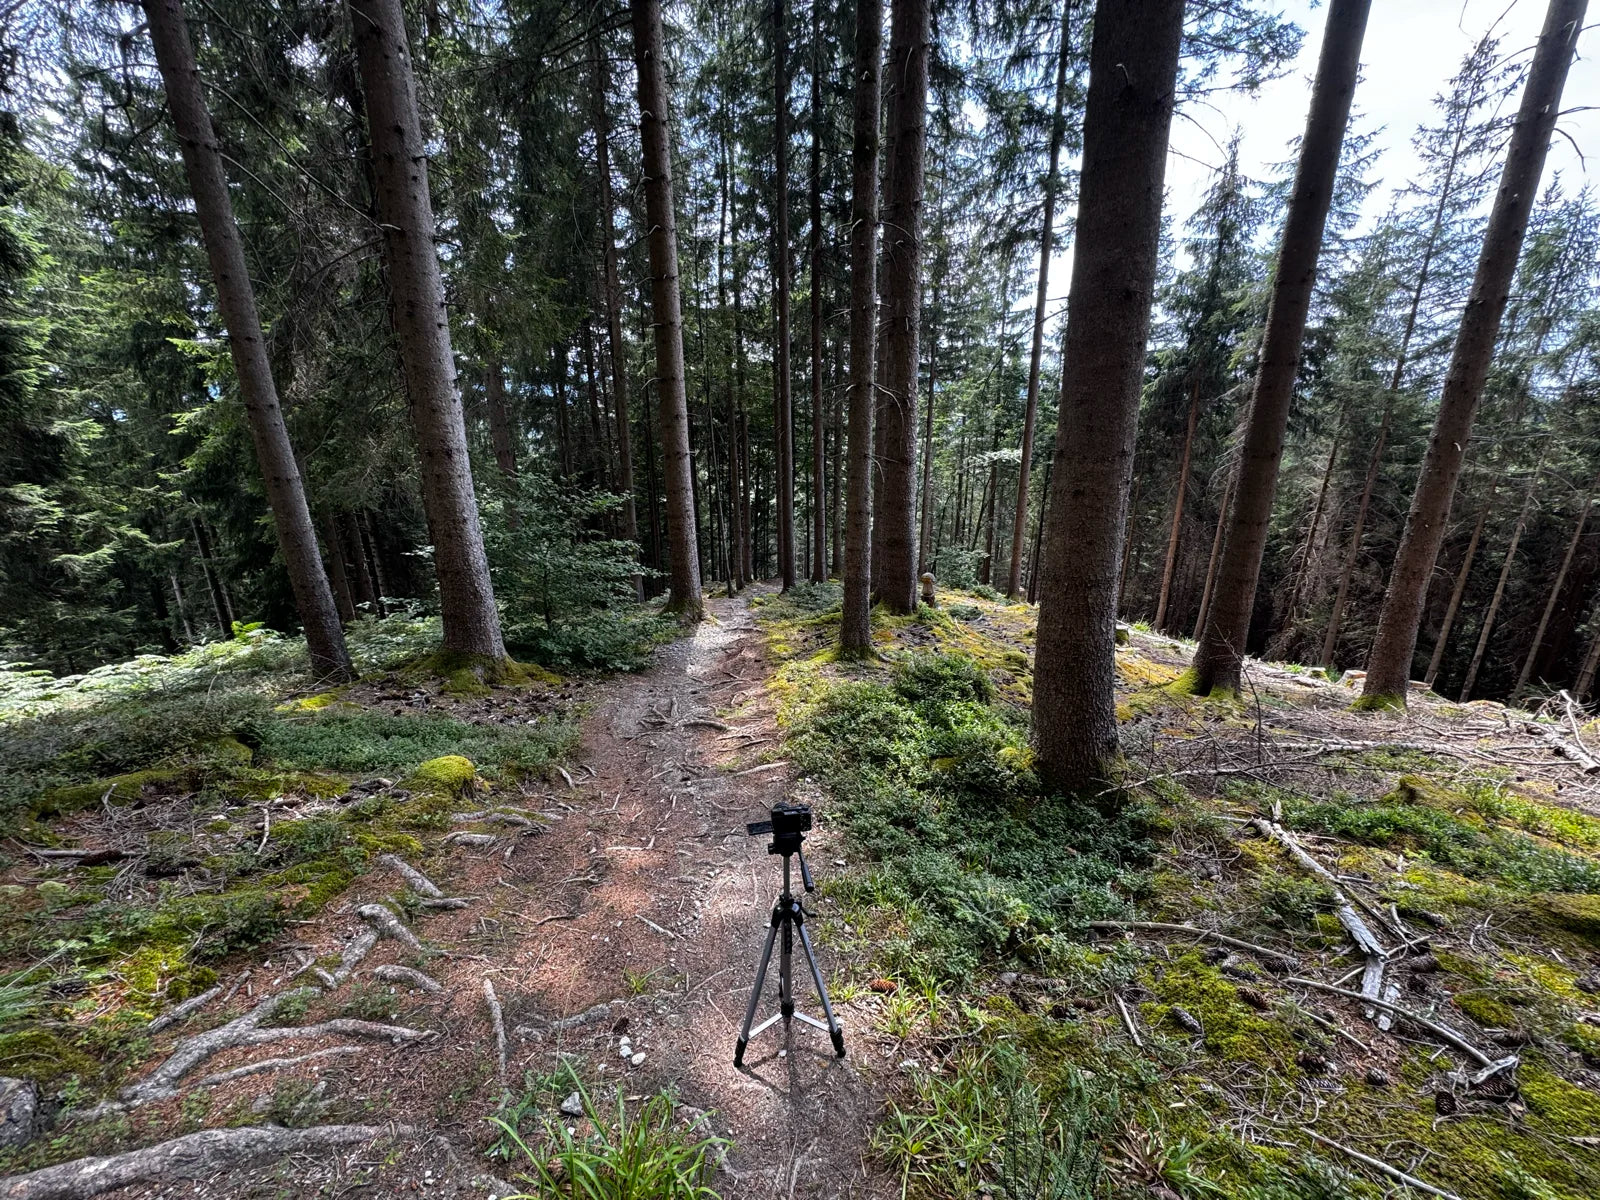
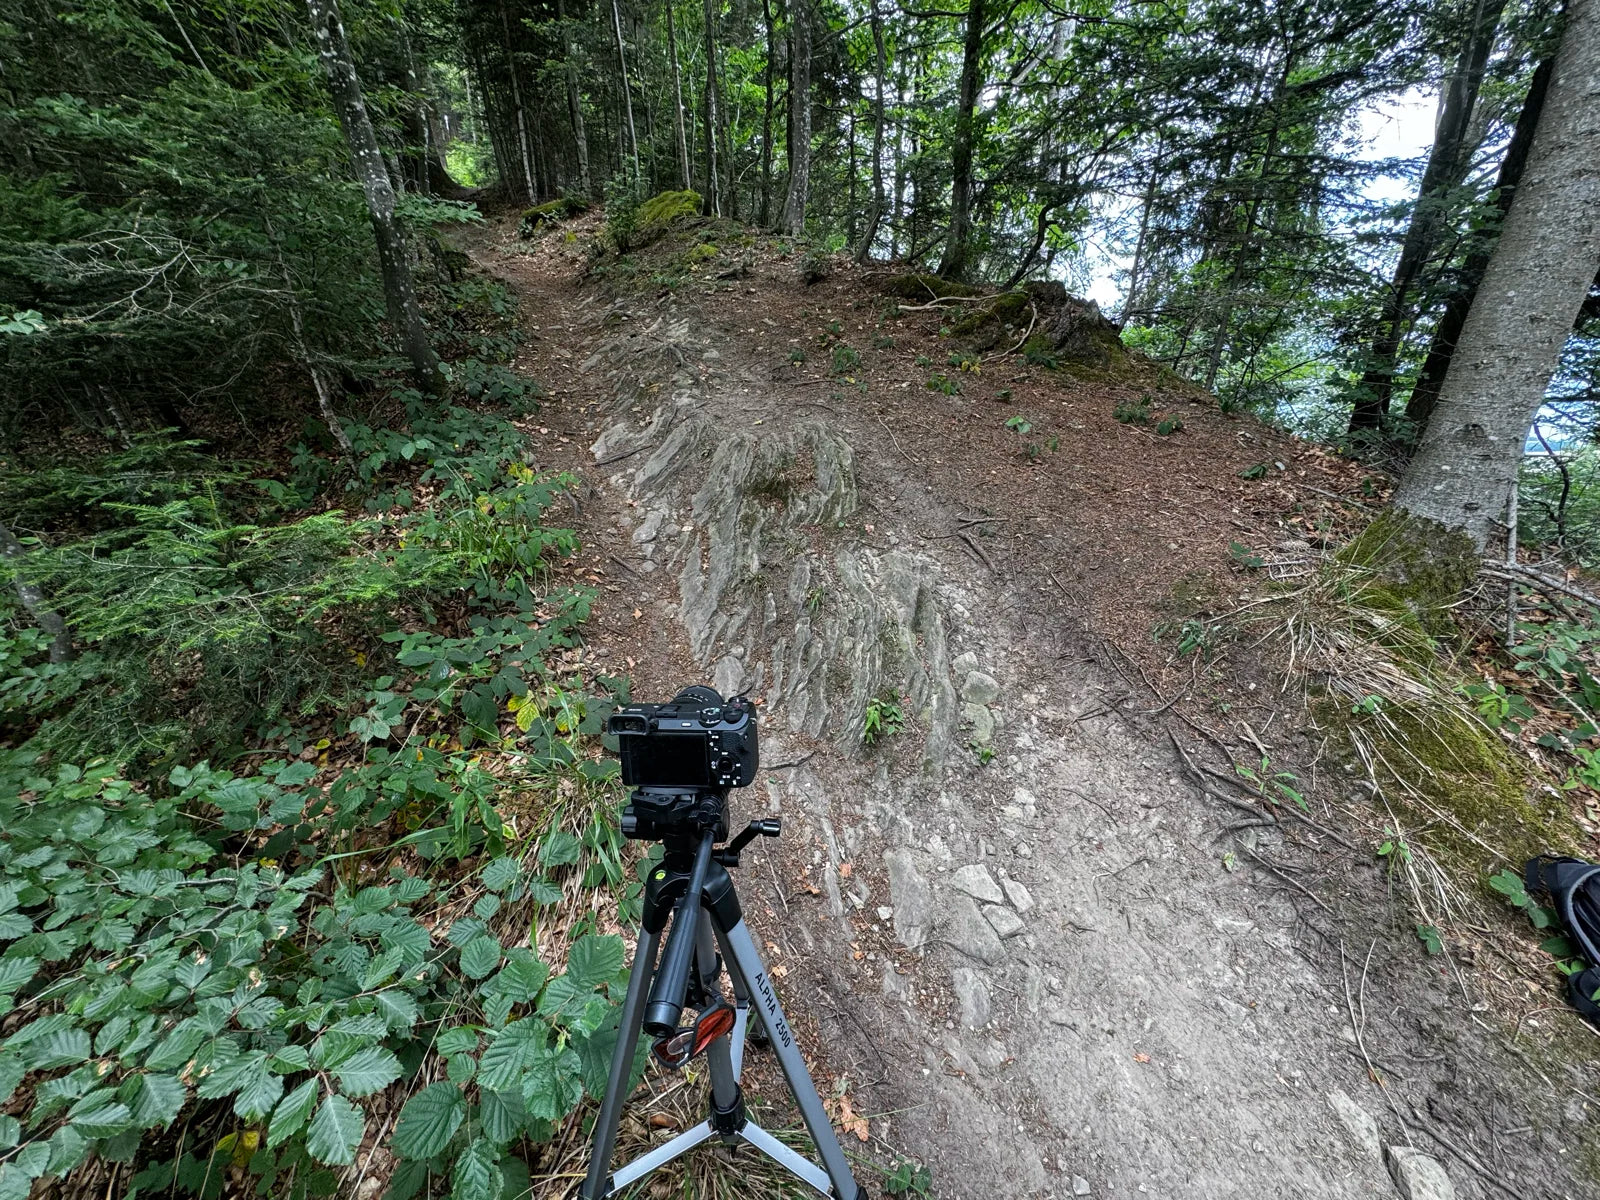
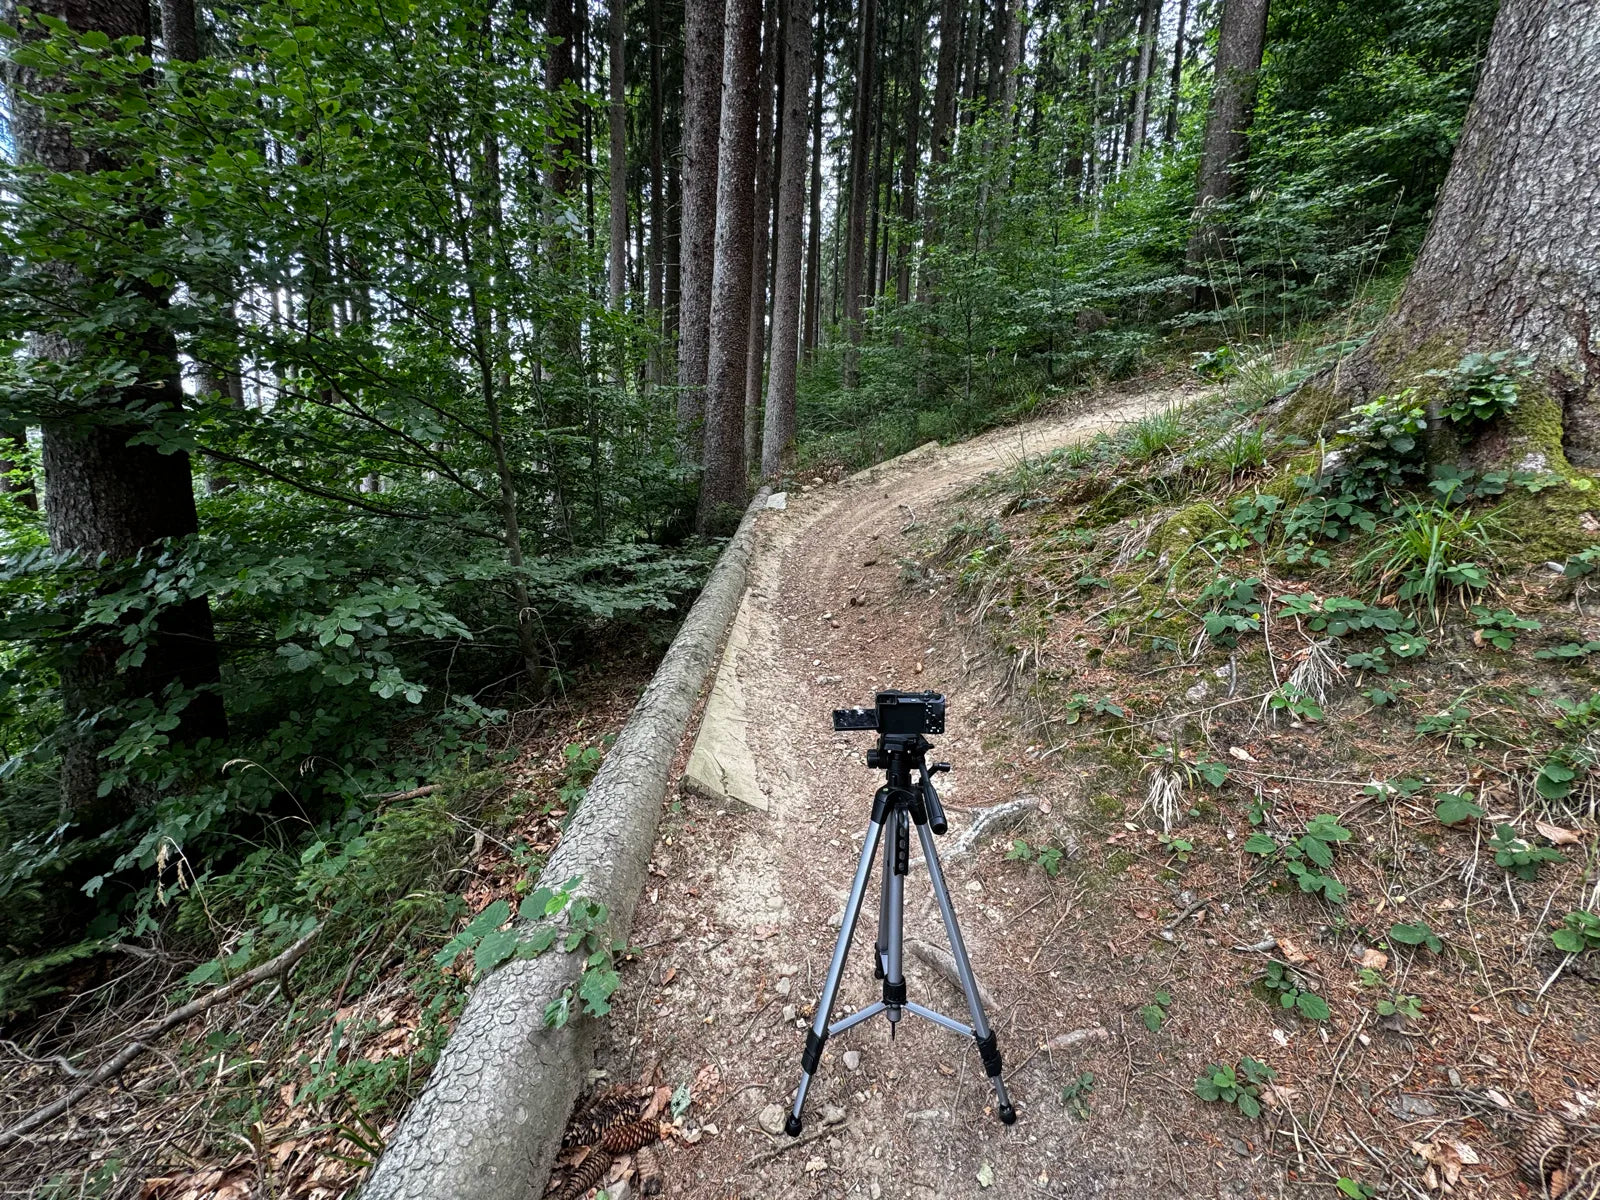
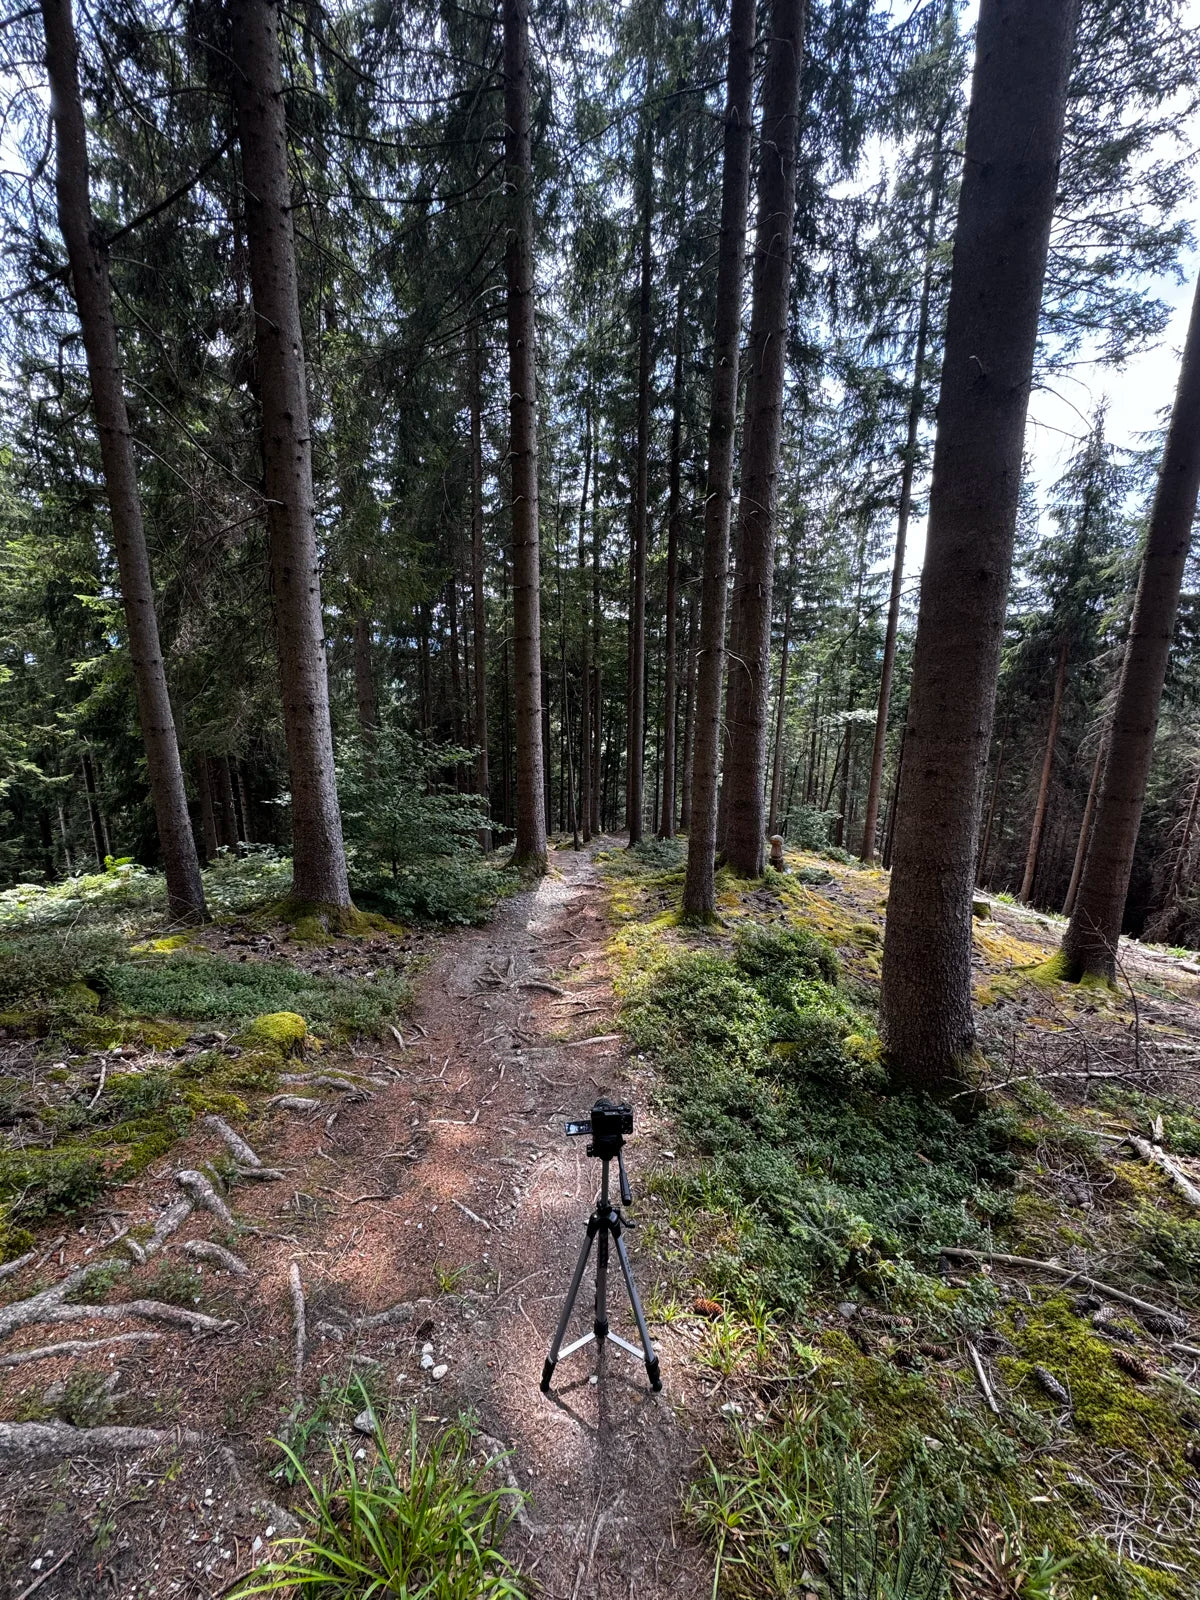
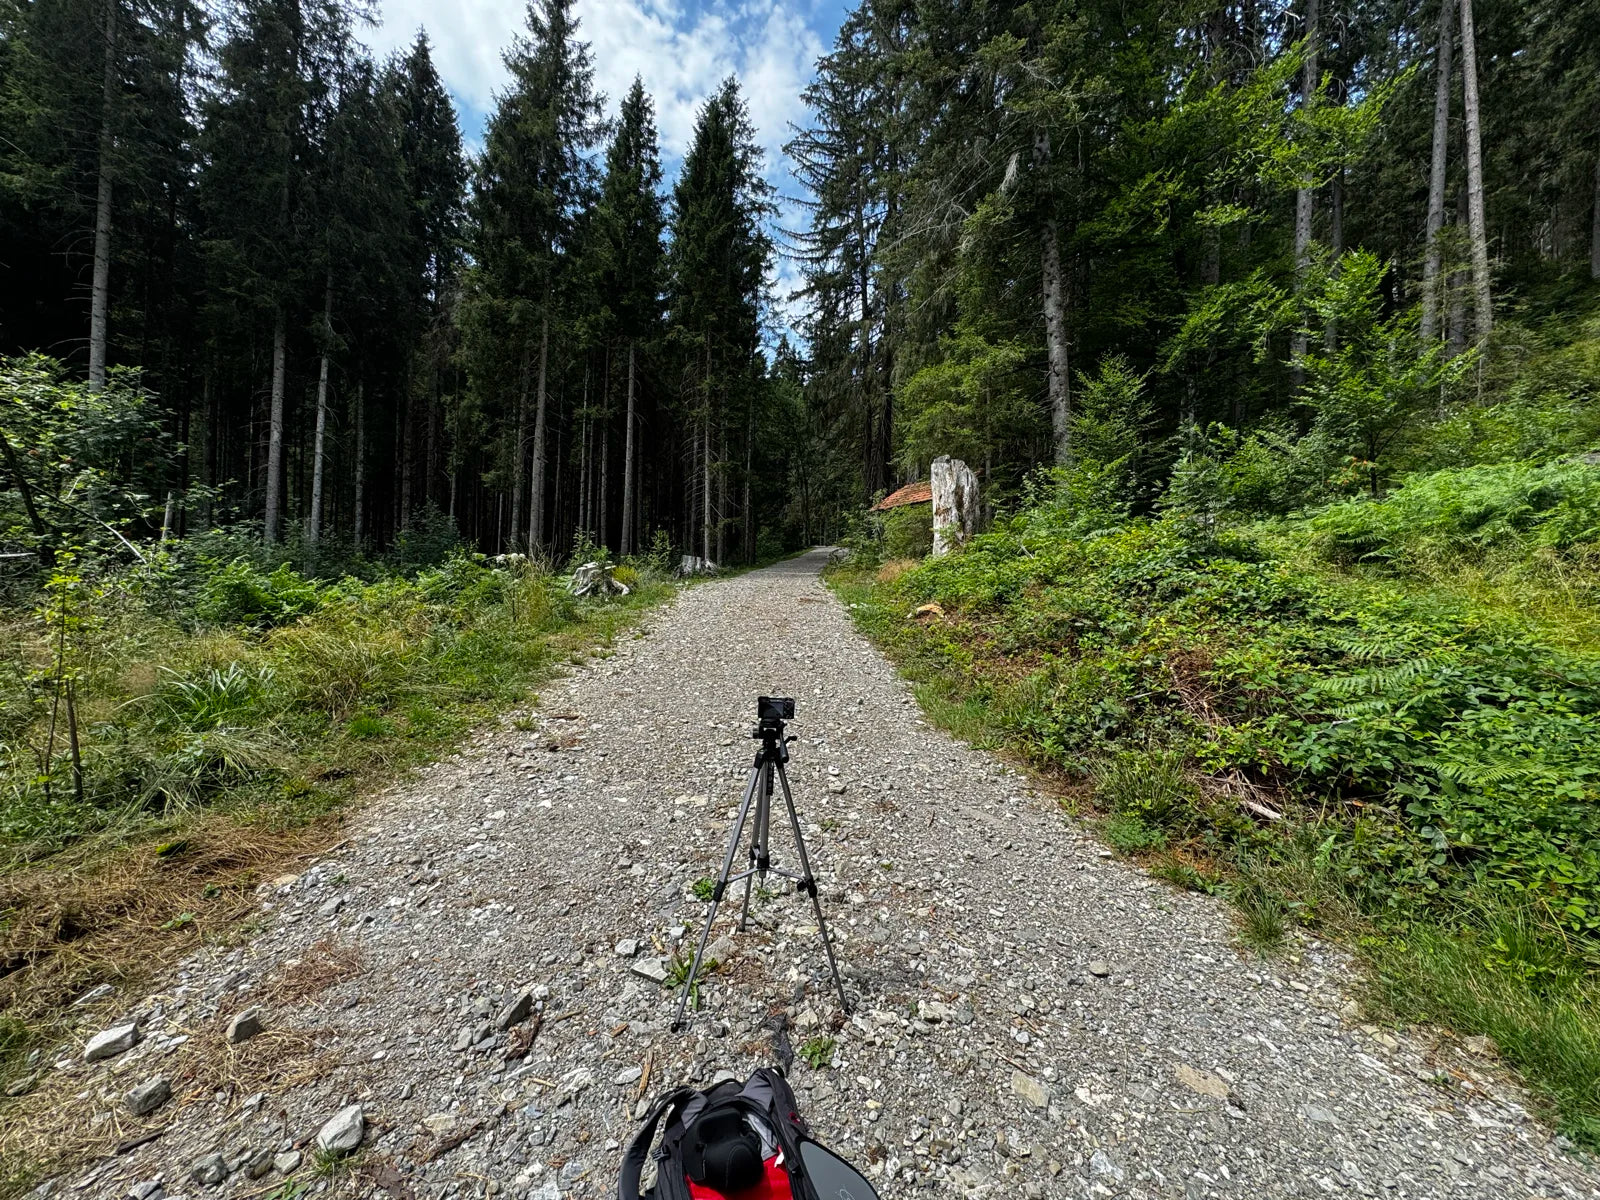
Two days later the same fifteen lenses went up a mountain. Seven scenes, from a bright road to a dark trail to a town street. In each scene the camera sat on a locked tripod, exposure locked once on the bare sensor, and each lens was held flat against the front of the camera lens for one frame: sixteen frames per scene, the bare no-lens frame plus one per lens, always in the same order.
The whole set travels in one case, and the grey card came along to check the light had not drifted while a scene was being shot. Where it drifted anyway, the pages say so instead of printing a broken number.
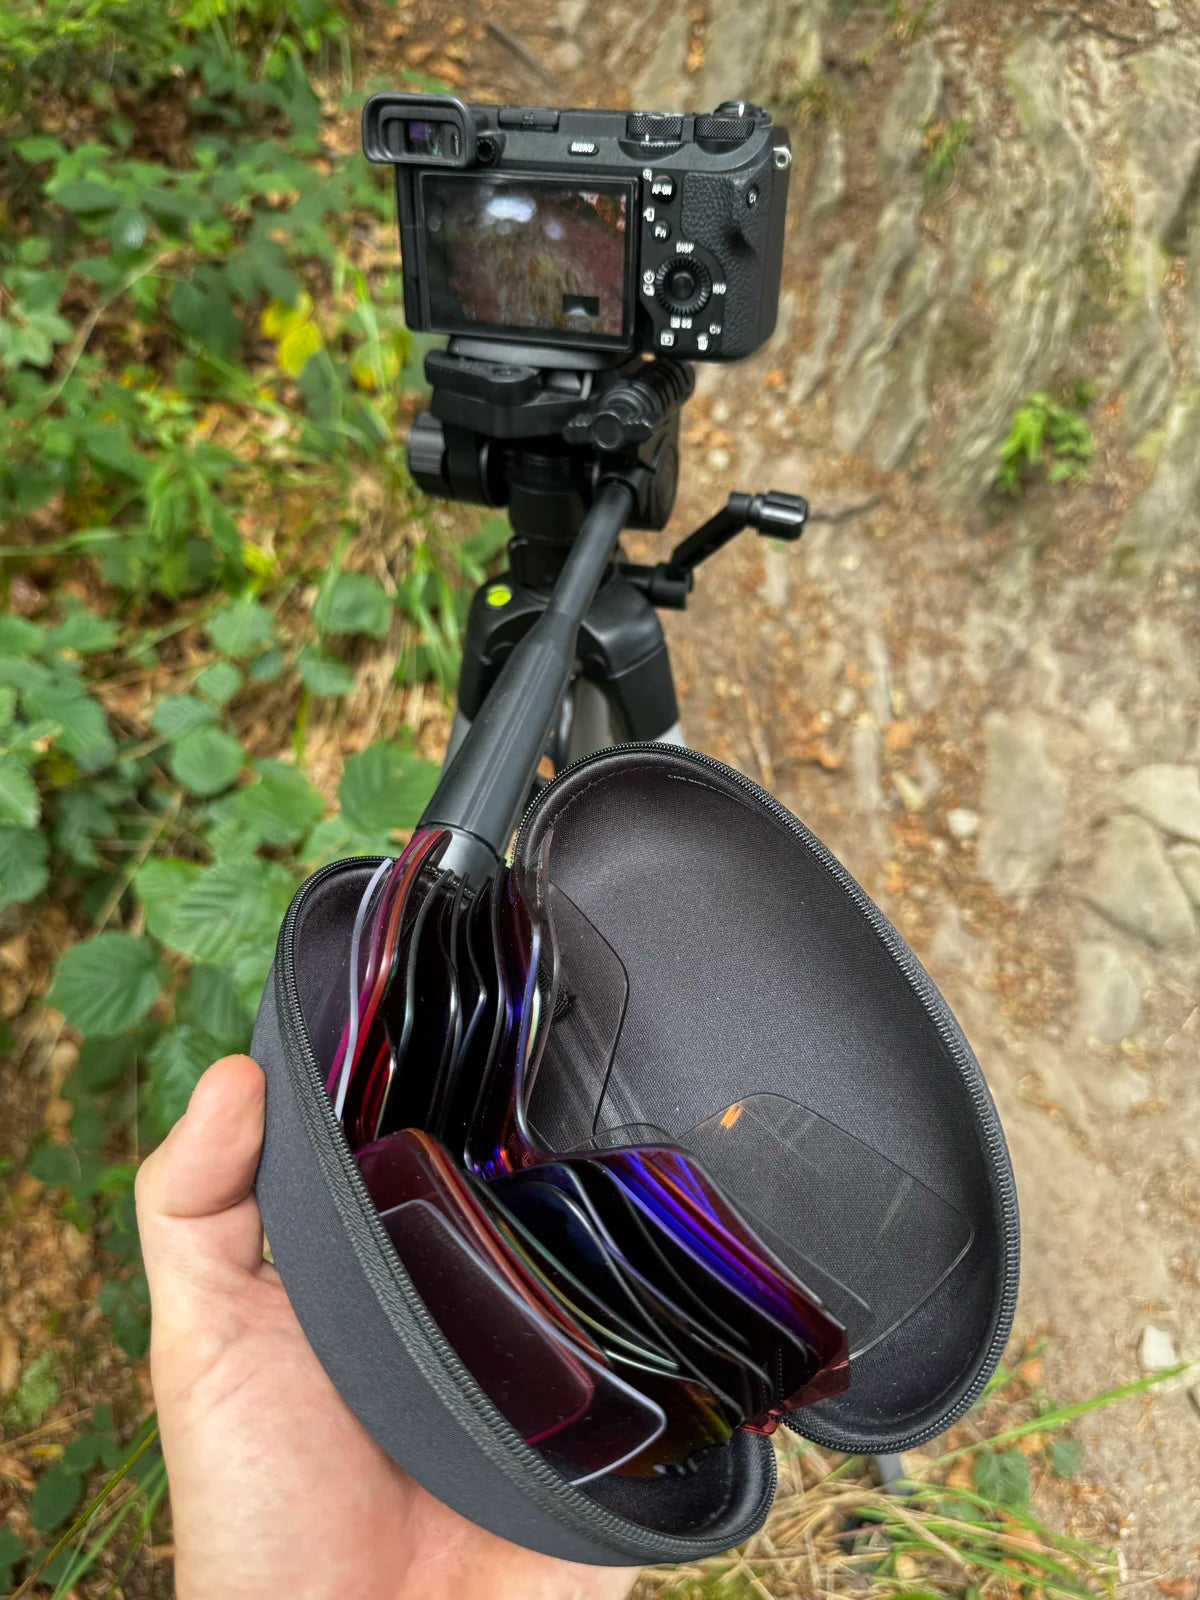
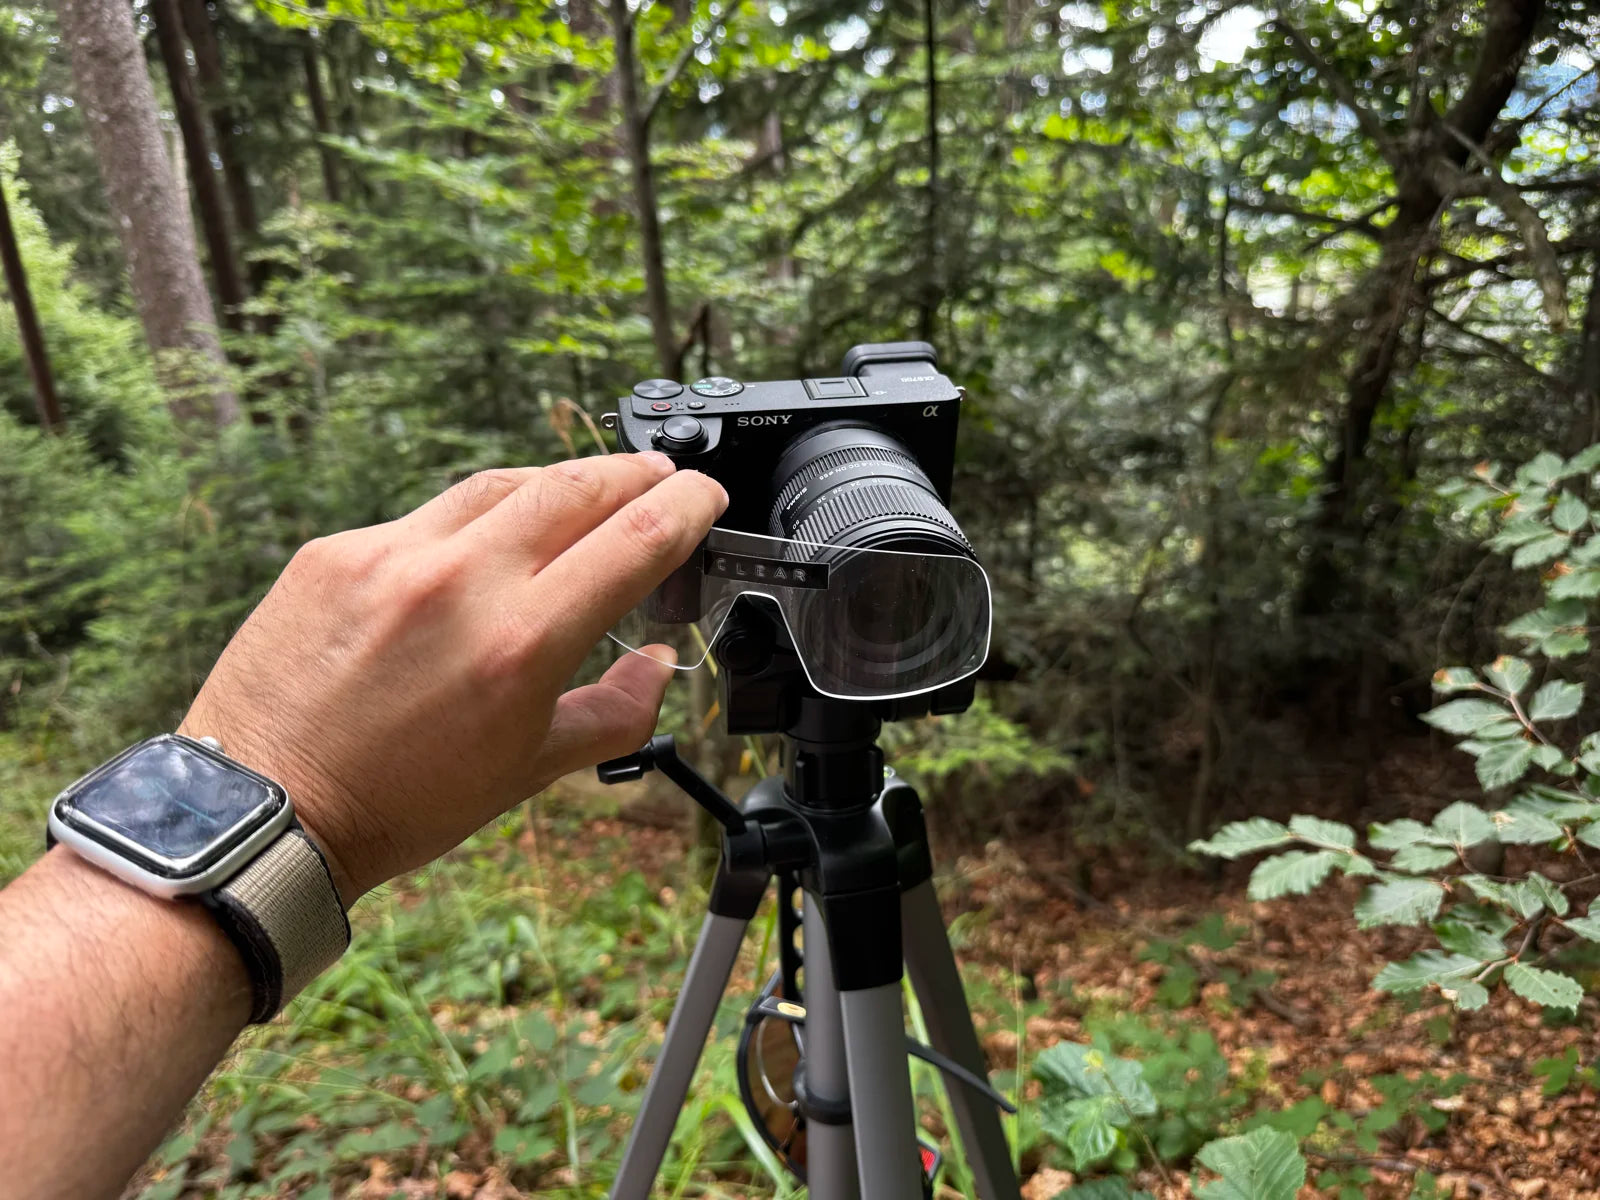
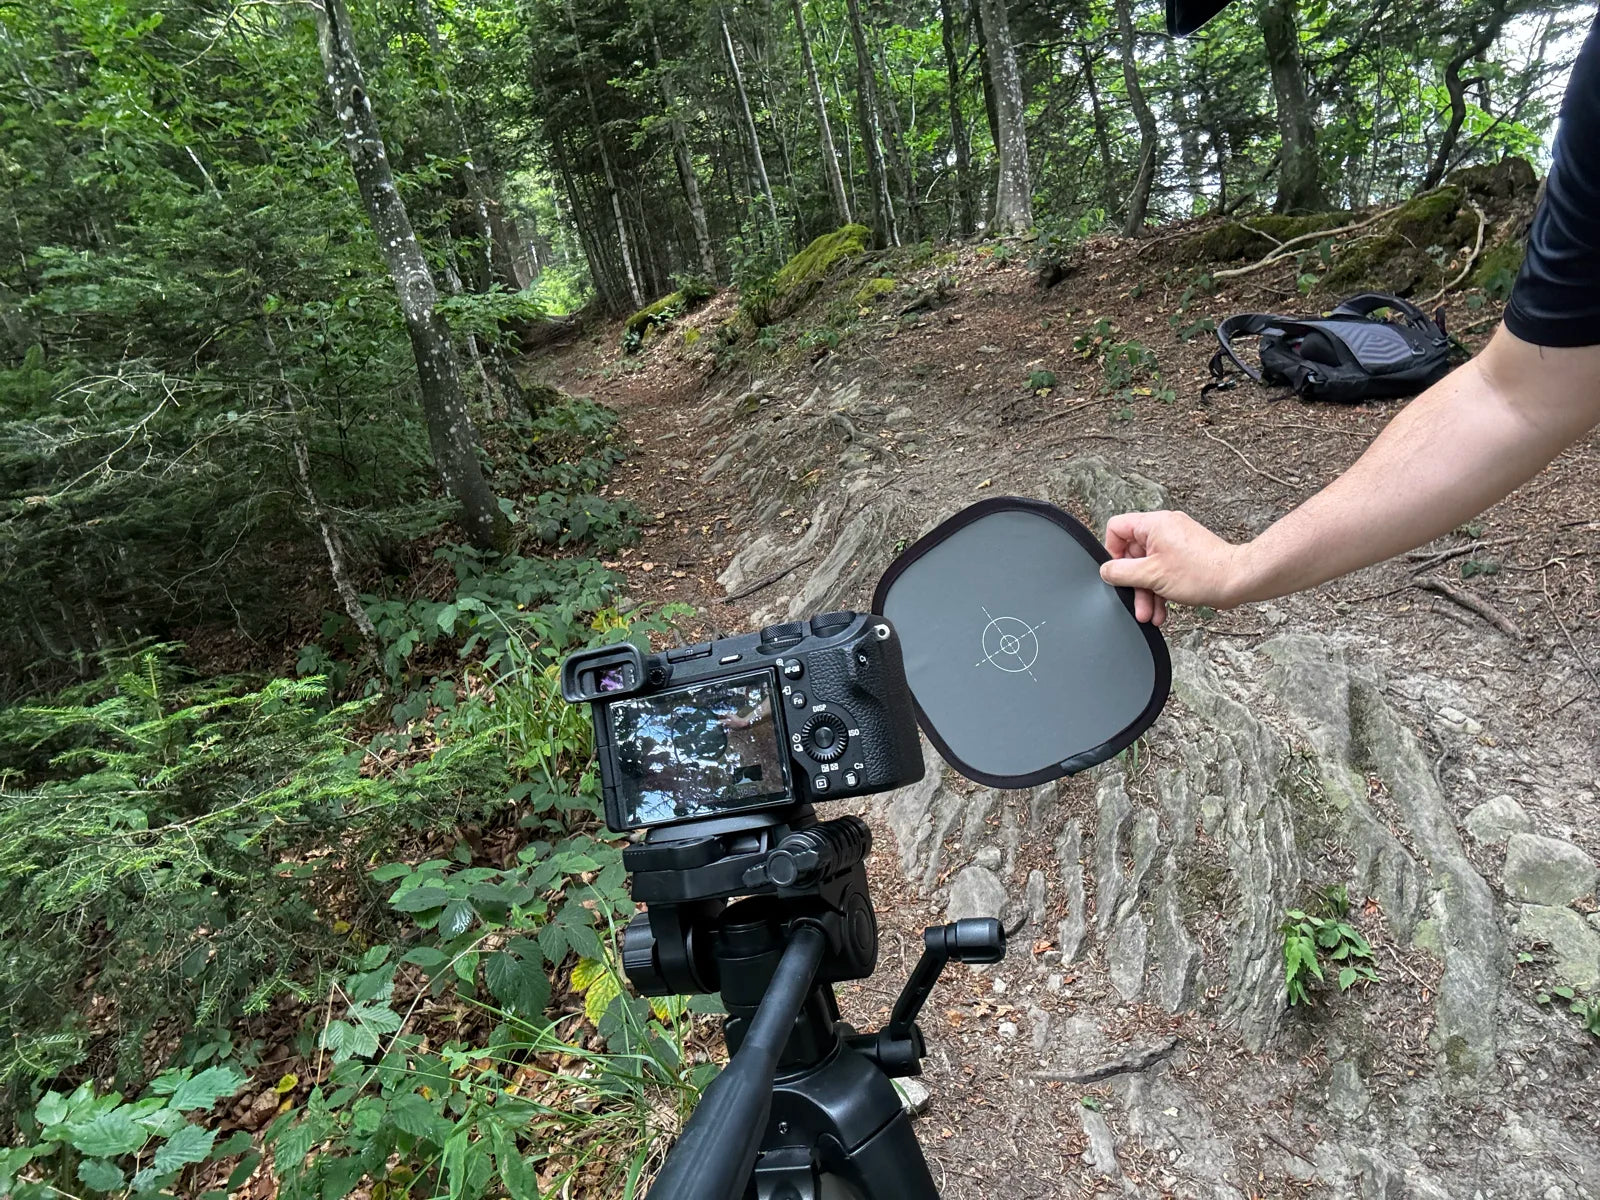
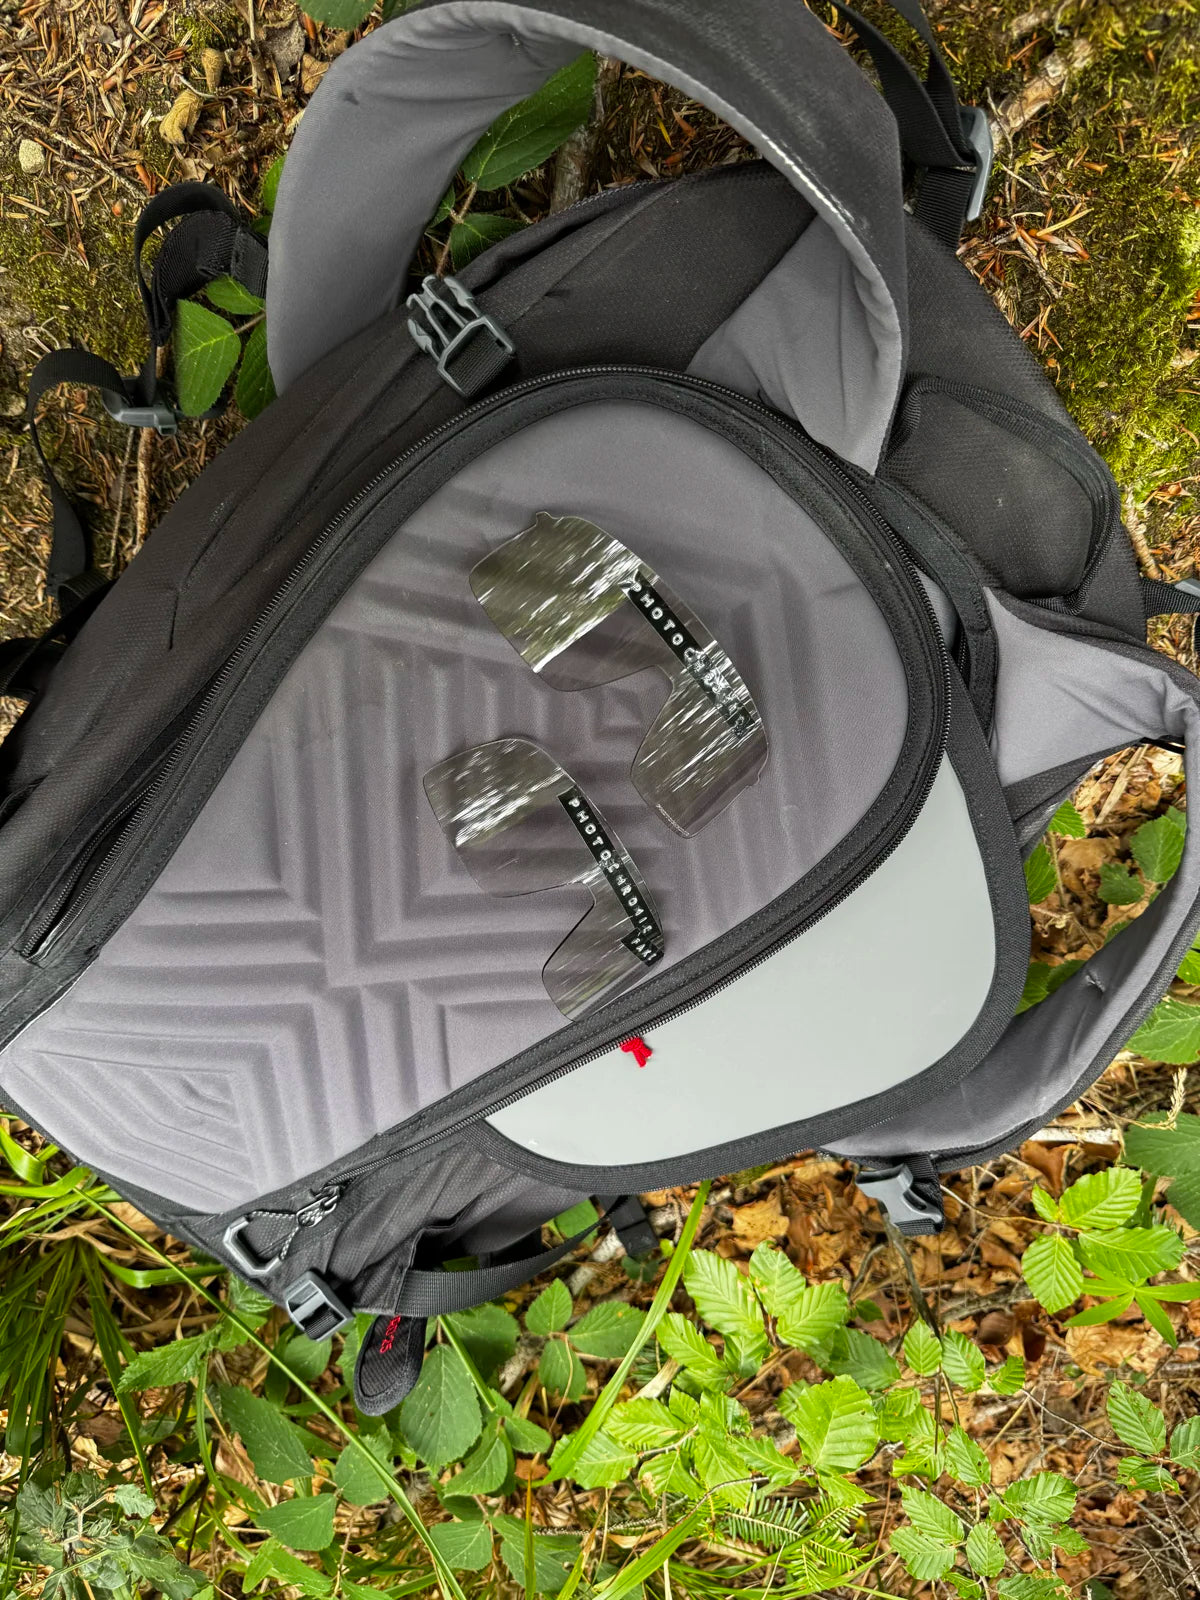
The nine scenes
Shot with the phone's ultrawide from behind the tripod, so you can see the place each comparison was made, not just the crop the study uses.
Measured against Clear: the whole calculation
Every transmission figure in this study is one number: how bright the world is through a lens, divided by how bright it is through the Clear control lens, from the same session, same scene, same locked exposure. Clear is a real specimen with a known 93% factory rating, and it is present in every scene, which makes it an anchor that can defend itself: if a scene's light shifted, Clear's own reading exposes it.
The steps, in plain words. One, photograph the scene through nothing and through each lens without touching the camera. Two, develop the raw files linearly, with no tone curve and no auto brightness, because camera JPEGs compress bright values and would squeeze a 75% lens and a 93% lens toward the same number. Three, read the same patch of pixels in every frame and take the median brightness. Four, divide by Clear's value. A lens that reads 55% passed 55% as much light as Clear did, on that day, through that camera.
This is why the pages never show a tinted lens above 100%: nothing passes more light than the near-clear control. When a reading came out impossible anyway, that frame's number is withheld and labelled, because it measures moving daylight, not the lens.


The three brightness modes
The comparison tool shows every scene three ways. All three come from the same locked-exposure frame; they only differ in how honestly darkness is displayed.
Eye adapted
A dark lens never feels as dark as it measures, because your pupil opens and your retina adjusts within moments. This mode brightens each photo partway back, by the square root of the lens's transmission, a decent stand-in for that adaptation. What stays is what your eye cannot undo: the tint and the contrast. On the two night scenes that square root is wrong and the exponent is set differently, for the reason below.
True exposure
The untouched frame. A lens that passes 15% of the light gives a picture 15% as bright, exactly what a light meter would report. Physically honest, but darker than the world ever feels through the lens.
Colour only
Every image is brightened to the same overall level, so darkness differences vanish and only the colour cast remains. Use it to compare what the tints do to greens, browns and skies, separate from how dark each lens is.
The two night scenes follow different rules
The 2026-08-31 pass added a forest at dusk and a trail in full dark lit only by a helmet lamp. That is four stops below anything in the first session, and two things that work in daylight broke there. Both are worth stating outright, because they change what you may compare with what.
First, the measurement. Every transmission figure is a median taken over a chosen set of pixels, and the first seven scenes choose them with a fixed brightness floor. In the dark that floor keeps about one percent of the frame, the blown gaps of sky and nothing else, and it returned a bare sensor reading dimmer than a 93 percent filter, which cannot happen. The night scenes take their floor from each frame's own histogram instead. Inside one scene every lens is measured over the same pixels, so every comparison within a scene holds. Between scenes the two rules are not interchangeable, and this page will not print a figure from one beside a figure from the other without saying so.
Second, the pictures. The brightness of a scene is normally set so its brightest frame reaches white, which is right when a scene fills the range and wrong at night, where the brightest pixels are the lamp's own hotspot: it lifted the whole night behind them and rendered the no-lens view over four times brighter than the camera's own JPEG of the same exposure. And the eye adapted mode assumes your eye has room left to adapt, which under a helmet lamp it does not. Both are set per scene here, calibrated against the camera's own JPEGs of the same frames, which are the closest honest stand-in for what I could actually see standing there.
So on these two scenes the photographs are calibrated to appearance while the percentages beside them stay exactly what the sensor measured. The calibration changed no figure anywhere in this study. It only changed how dark the night looks, which was the thing that was wrong.
What this method cannot claim
A camera sensor is not a spectrophotometer. It has its own colour response, so a strongly tinted lens will not read identically here and on a lab instrument. The measured figures are honest comparisons between these specimens under the same light, not replacements for Oakley's stated VLT, which remains the number to quote. Colours are shown as the camera rendered them, because that is what the reader's screen can reproduce.